Creating the iOS App
As mentioned earlier, having Xcode installed is required to create applications for Apple devices. This book uses Xcode version 16.1 and Hotwire Native version 1.1.0.
Hotwire Native for Android will be covered in a separate book.
Useful Links:
New Xcode Project
Open Xcode to see a screen similar to this:
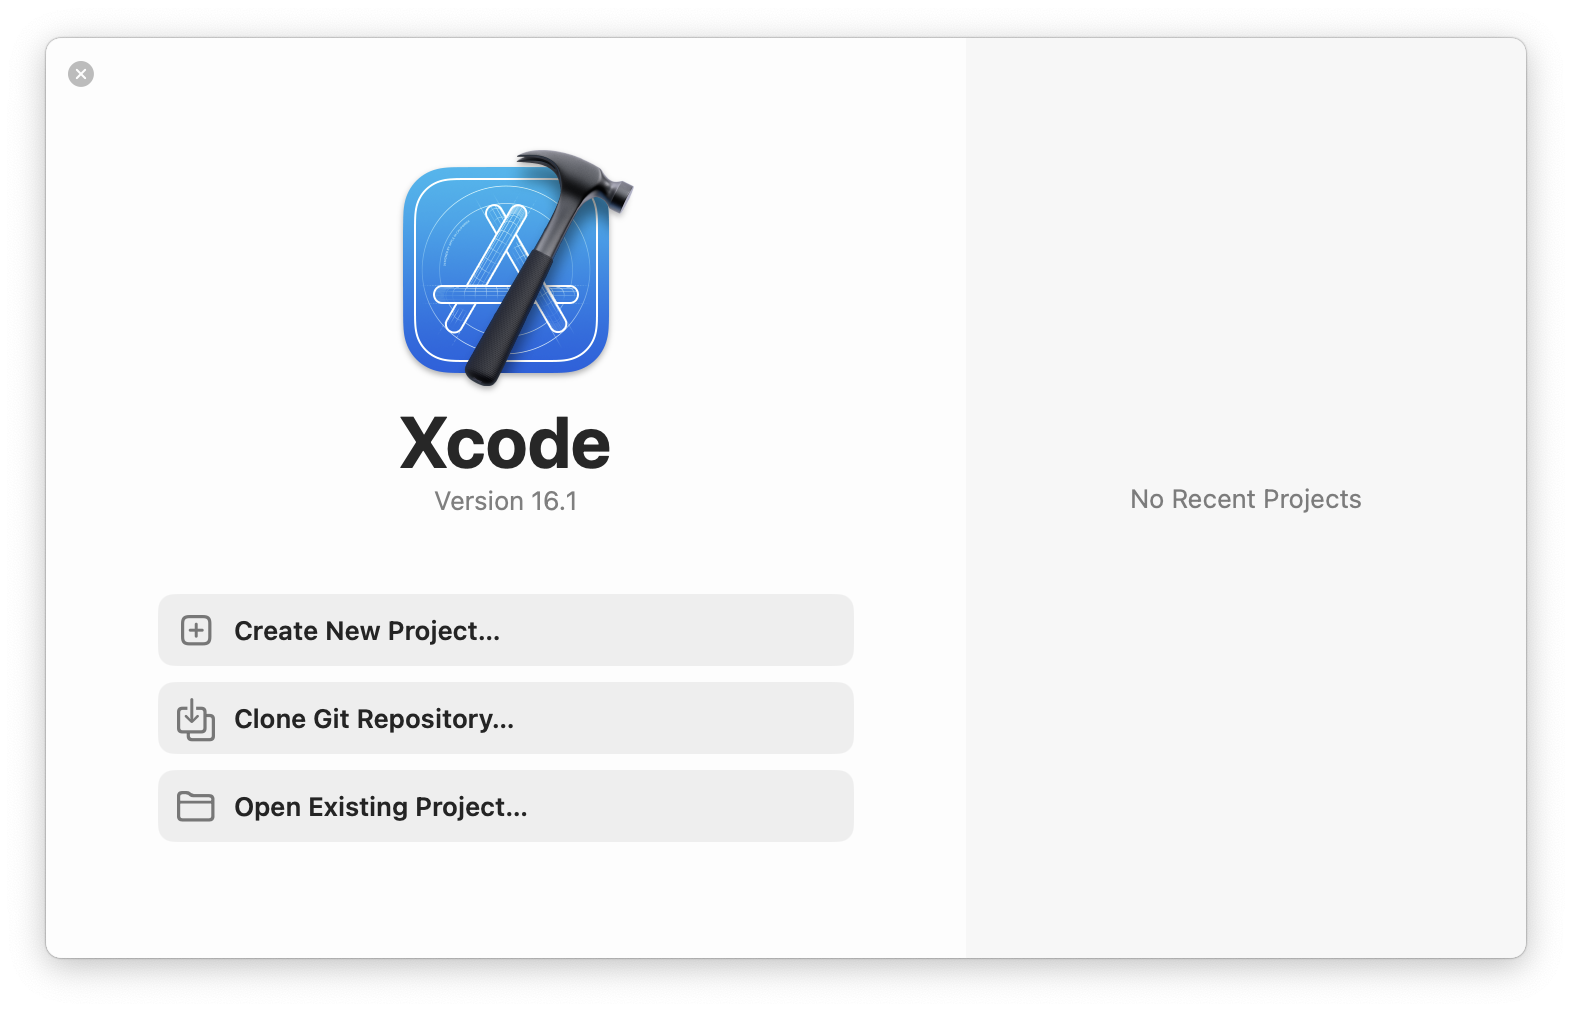
Click Create New Project.
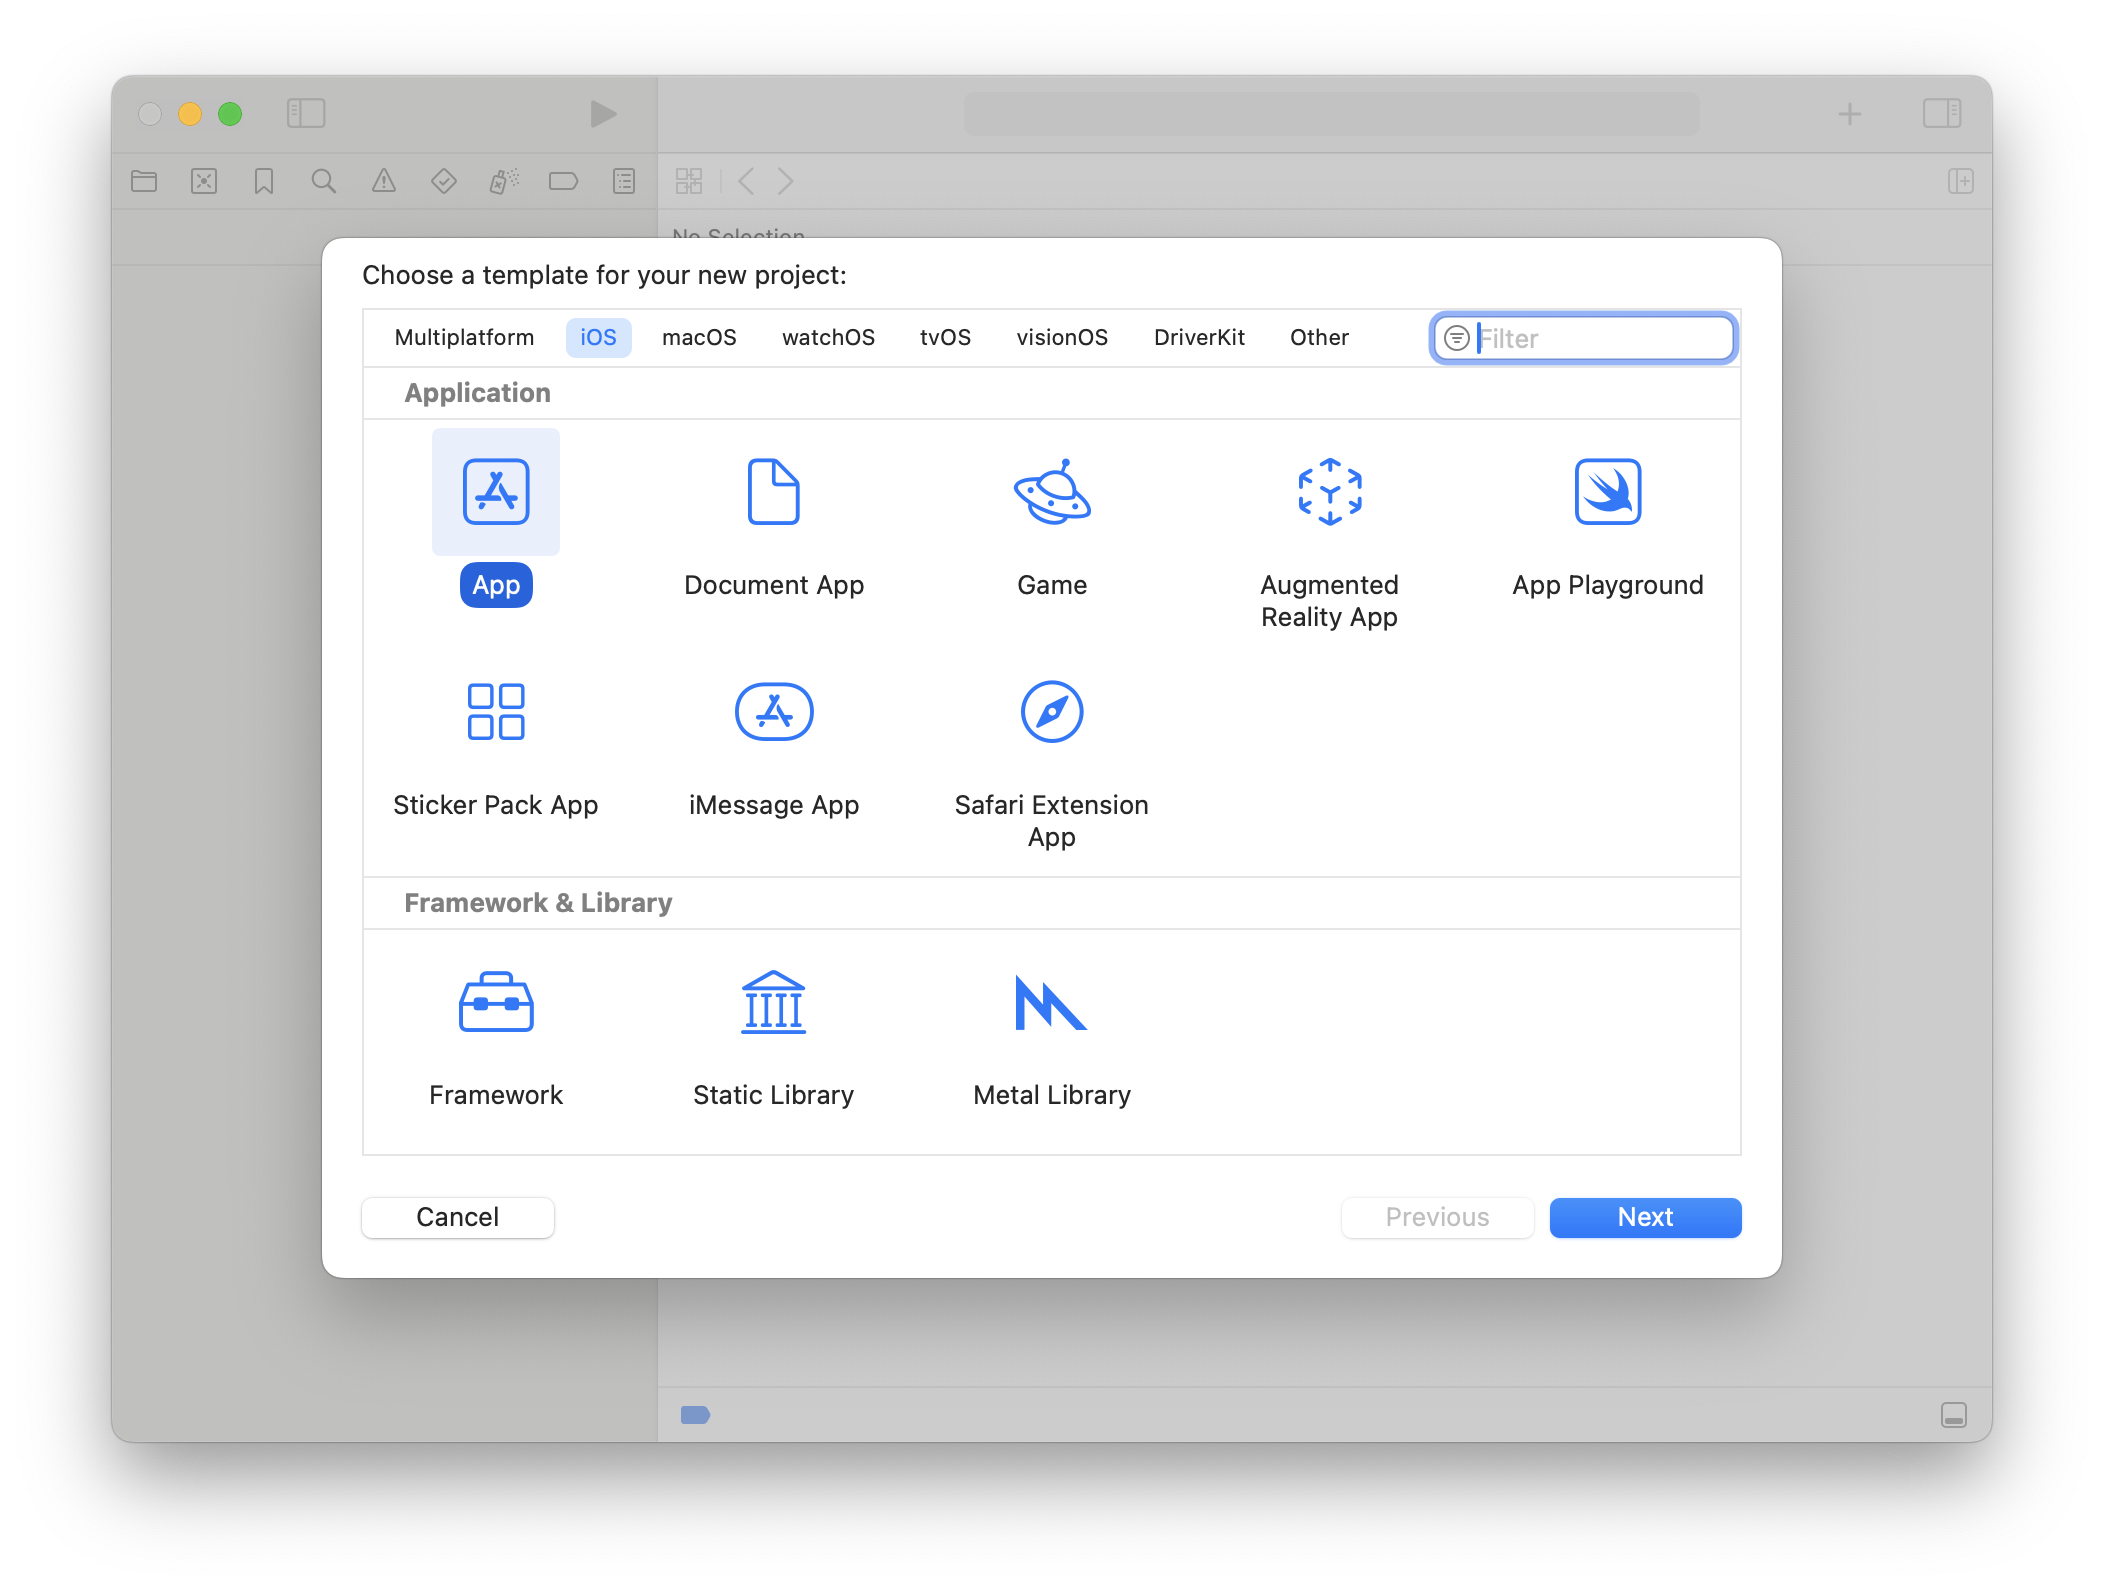
In the Application section, select the App option and click Next.
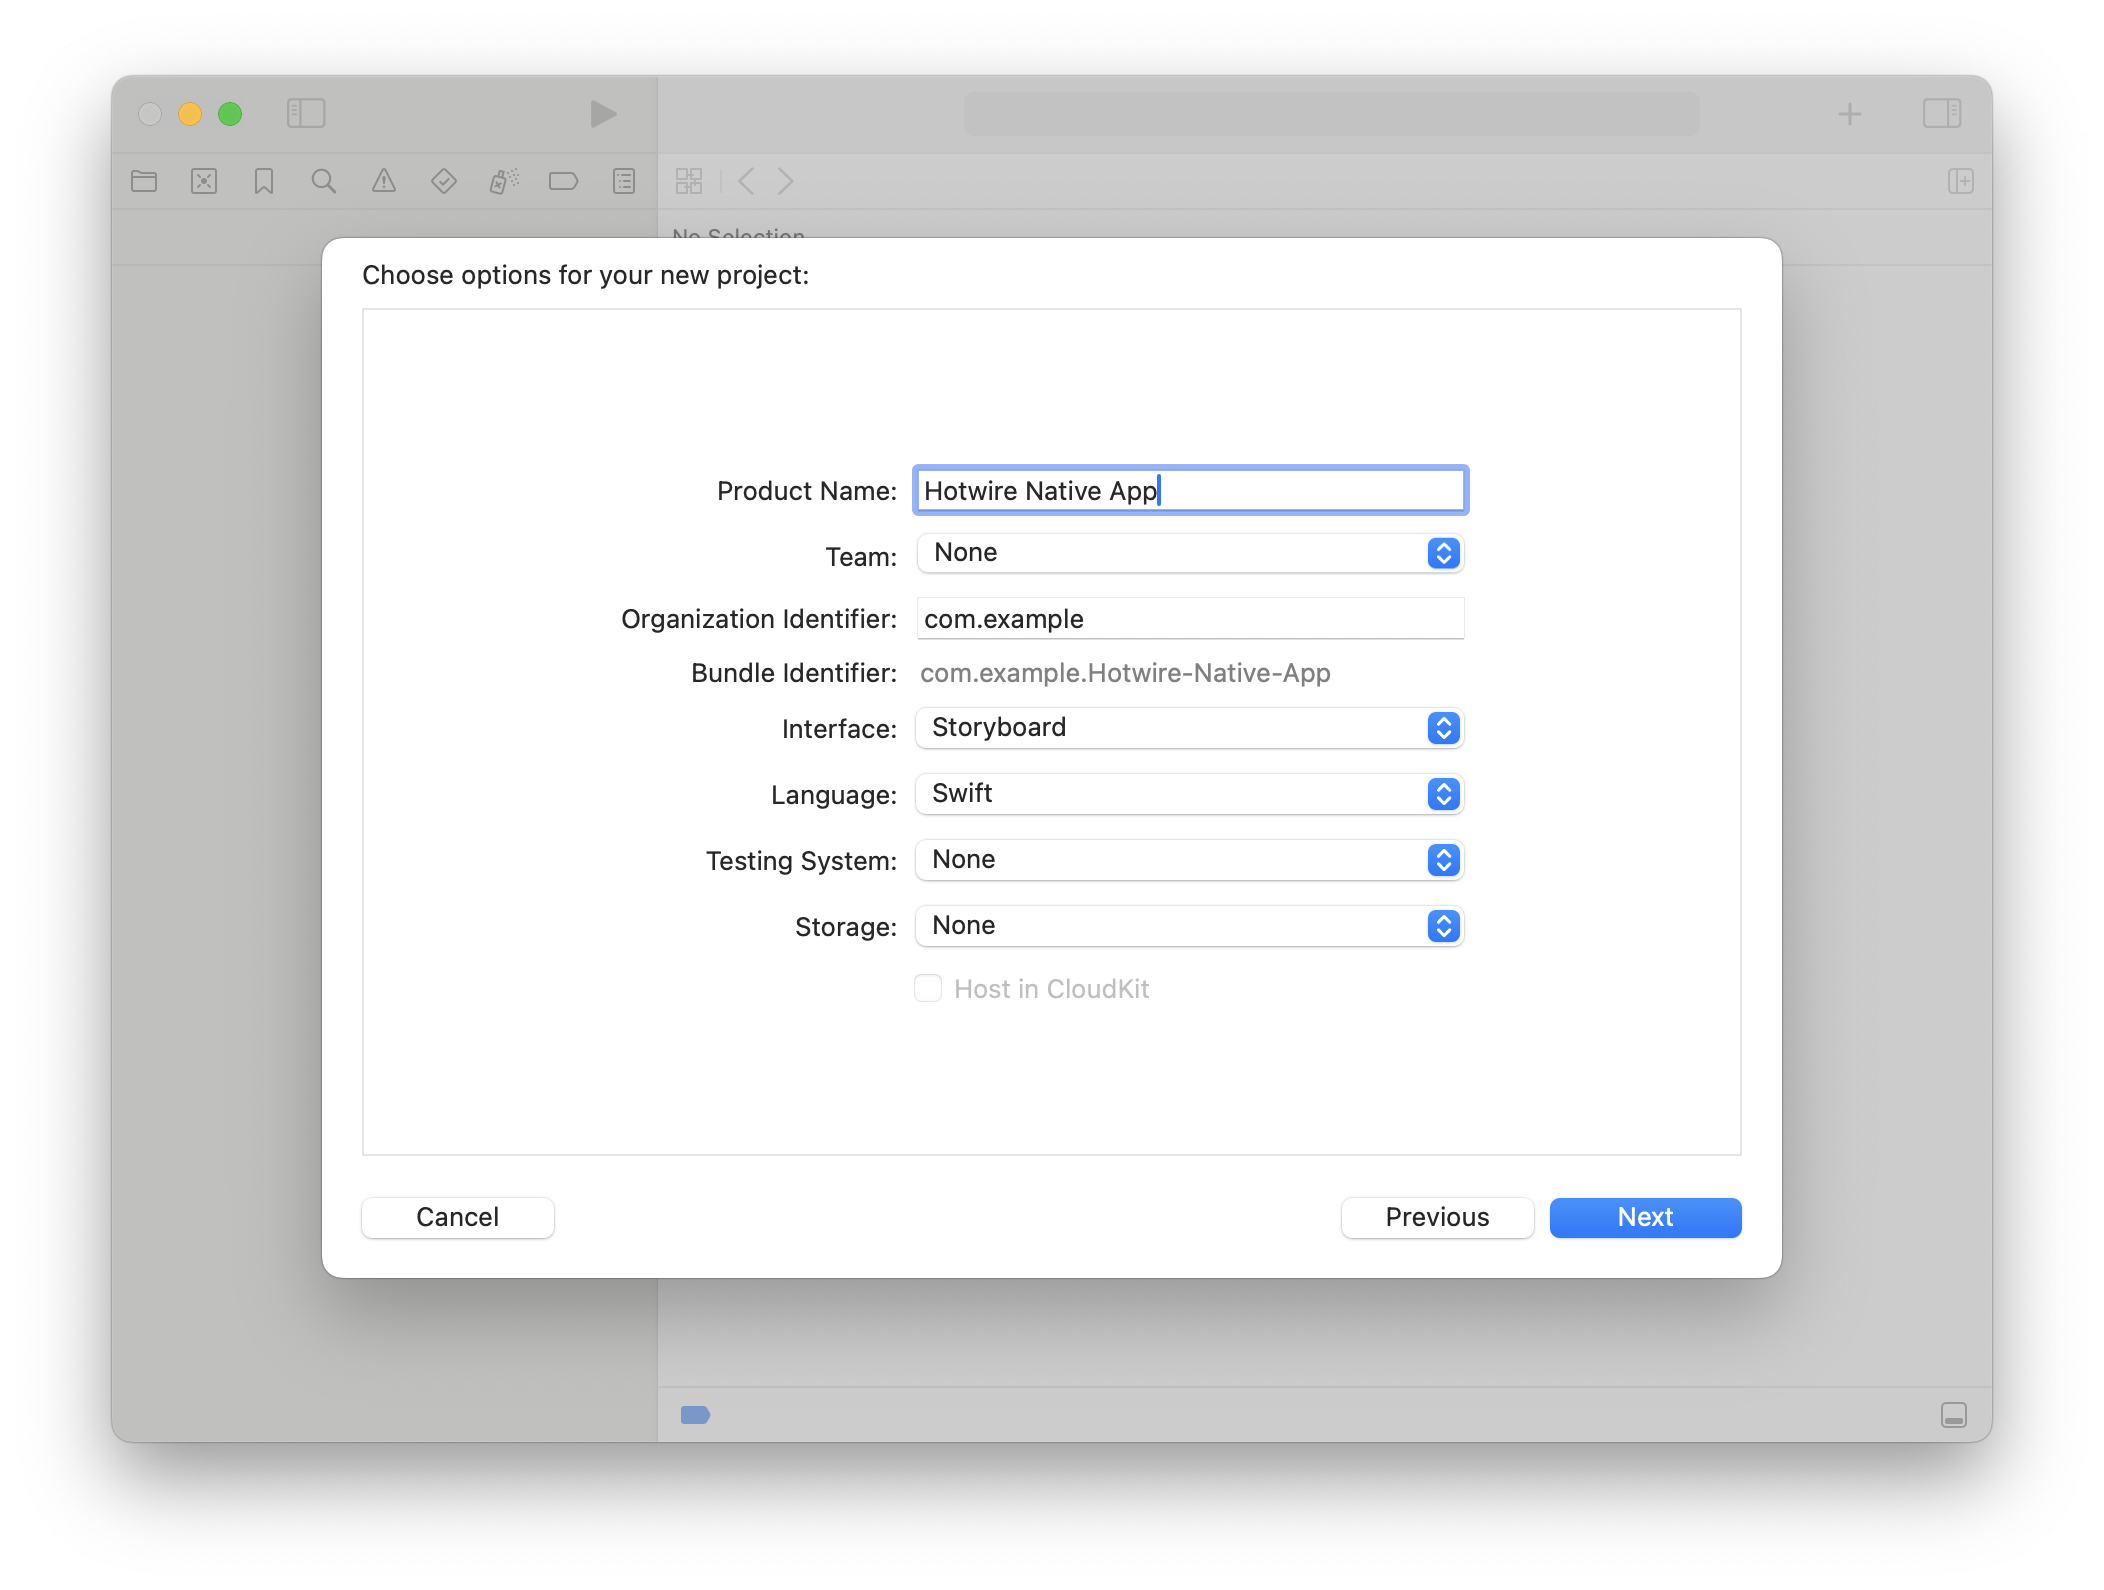
On the new screen, note the following specific points:Project Name:
- Enter your desired name.
- Team: Leave it as None.
- Organization Identifier: Use com.example (or another of your choice).
- Interface: Select Storyboard.
- Language: Choose Swift.
- Testing Library: Select None.
- Storage: Select None.
Finally, select the location for the project folder and click Create.
Emulator
Set up at least one emulator to test the application and ensure it works properly.

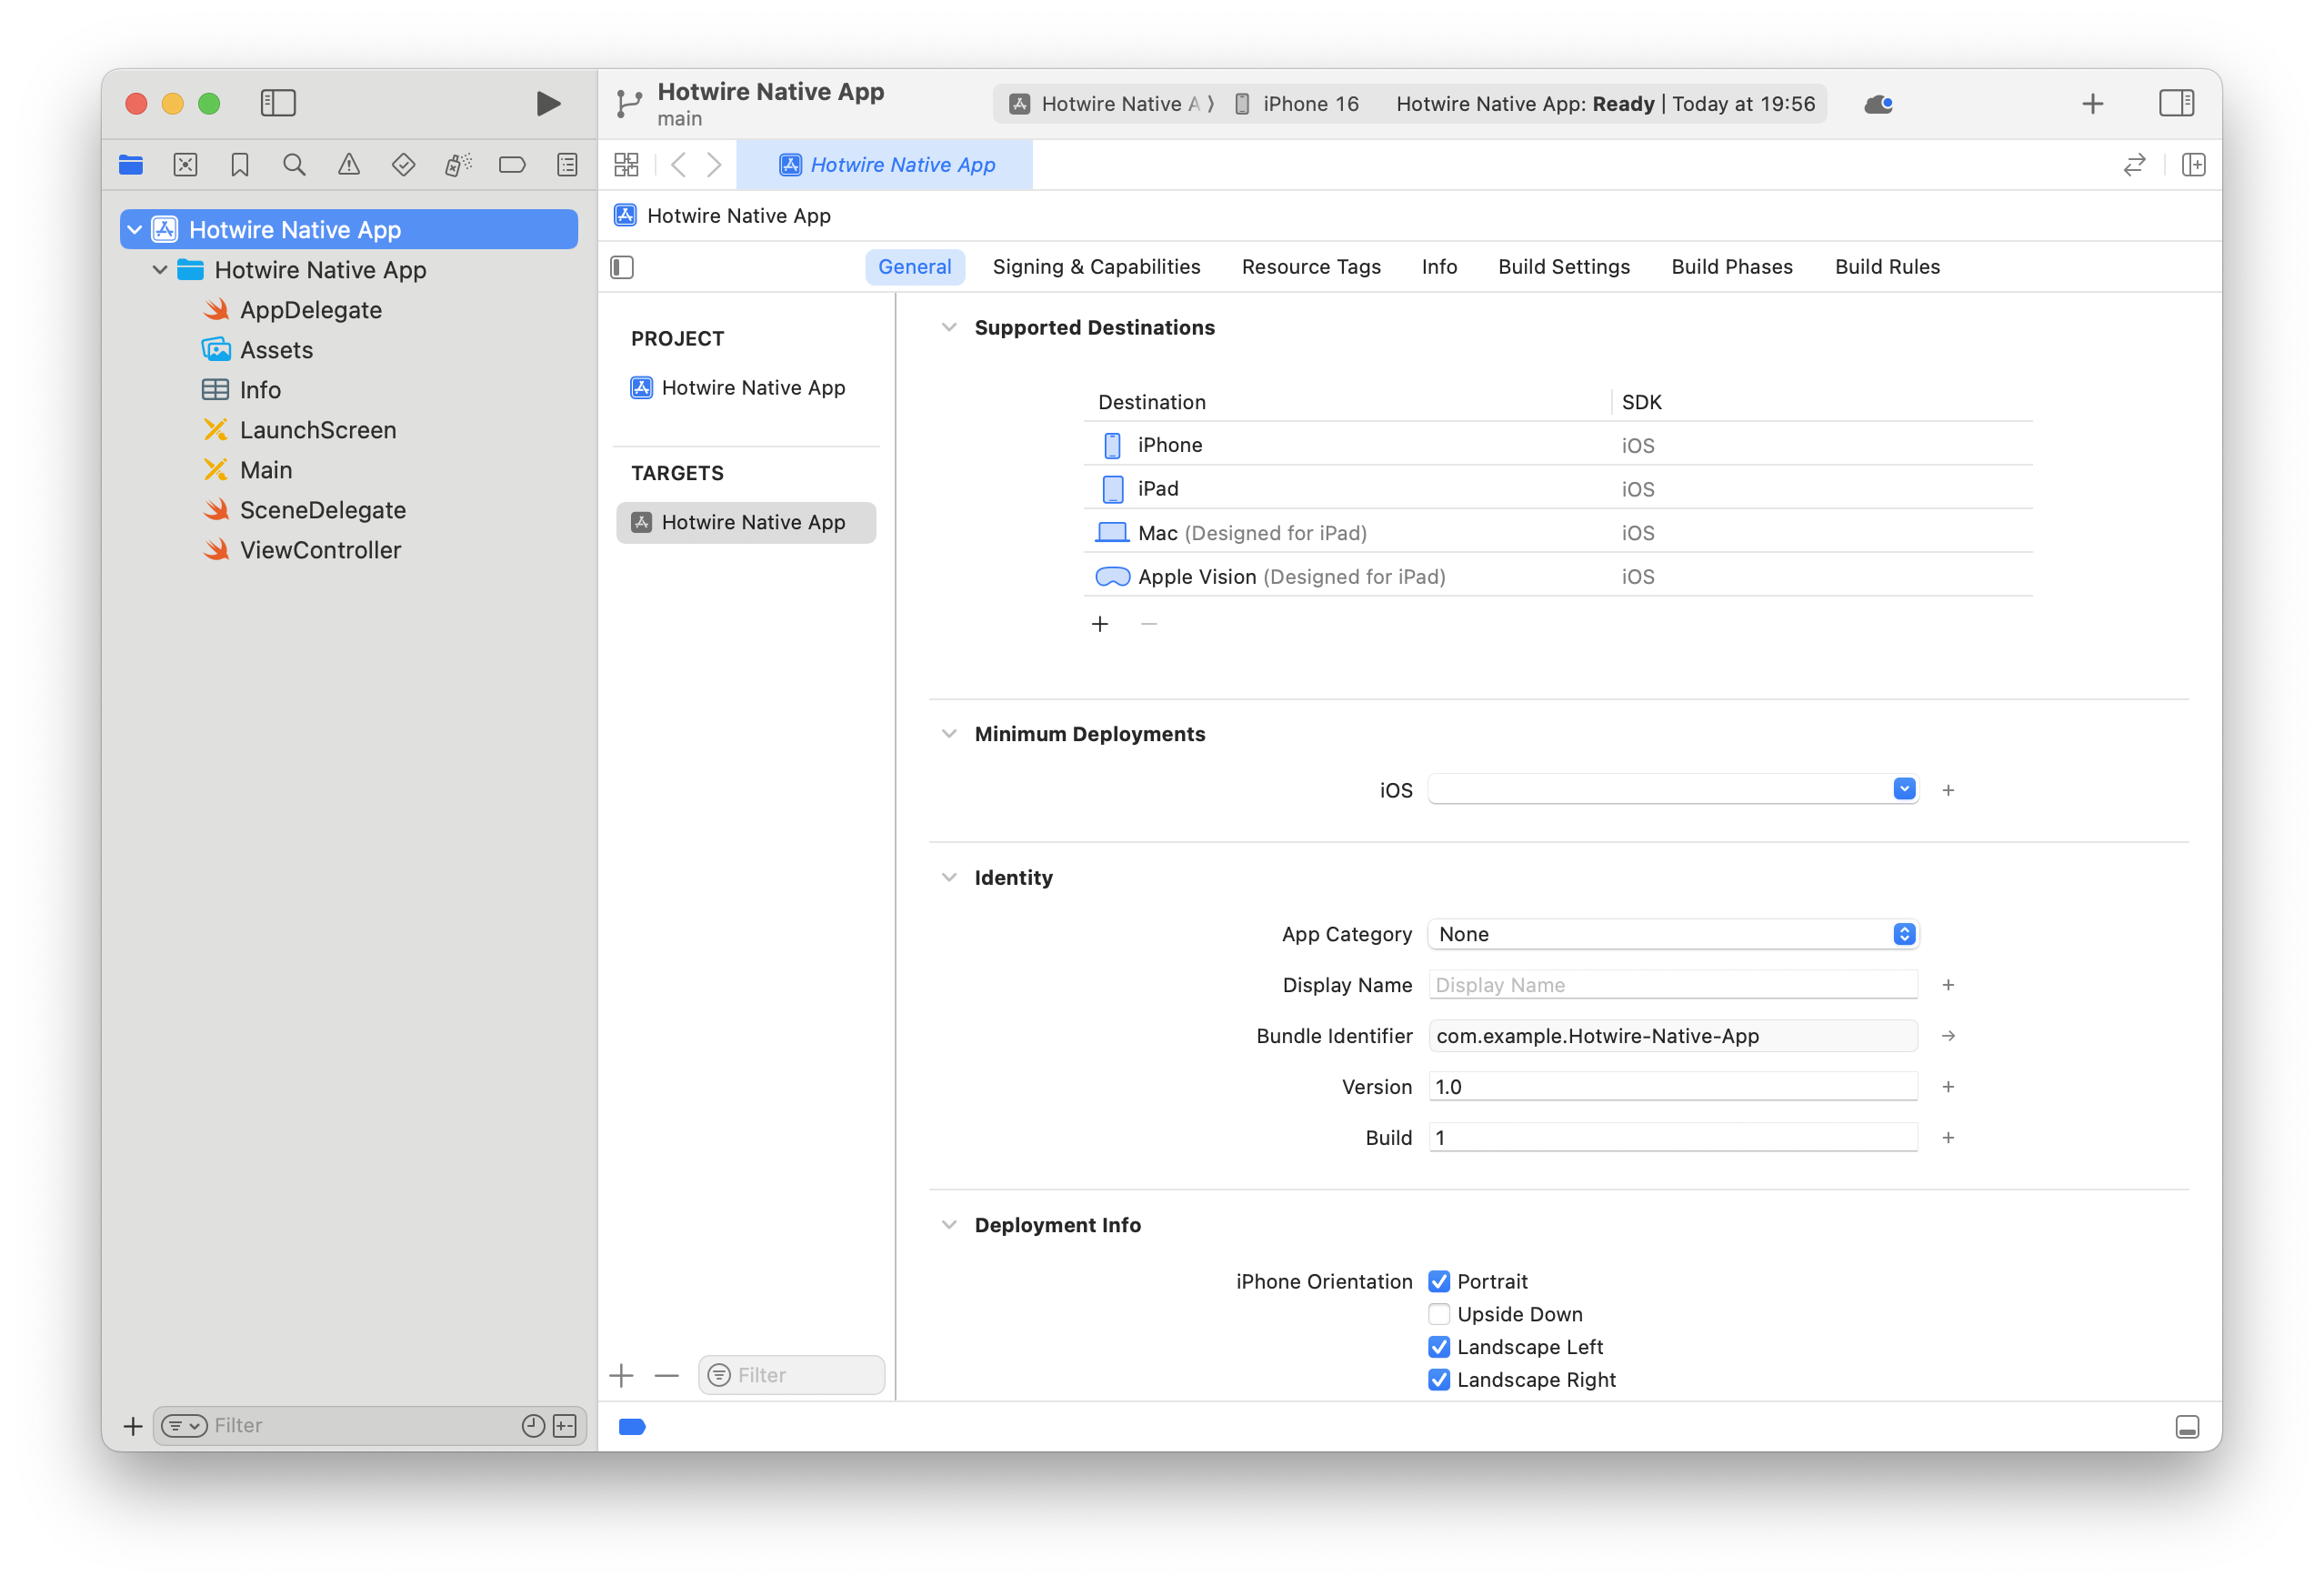
At the top of Xcode, click to view the available emulators.
Select the emulator you will use to run the project (e.g., iPhone 16).
Click the
Playbutton to run the application or use (Command + R).
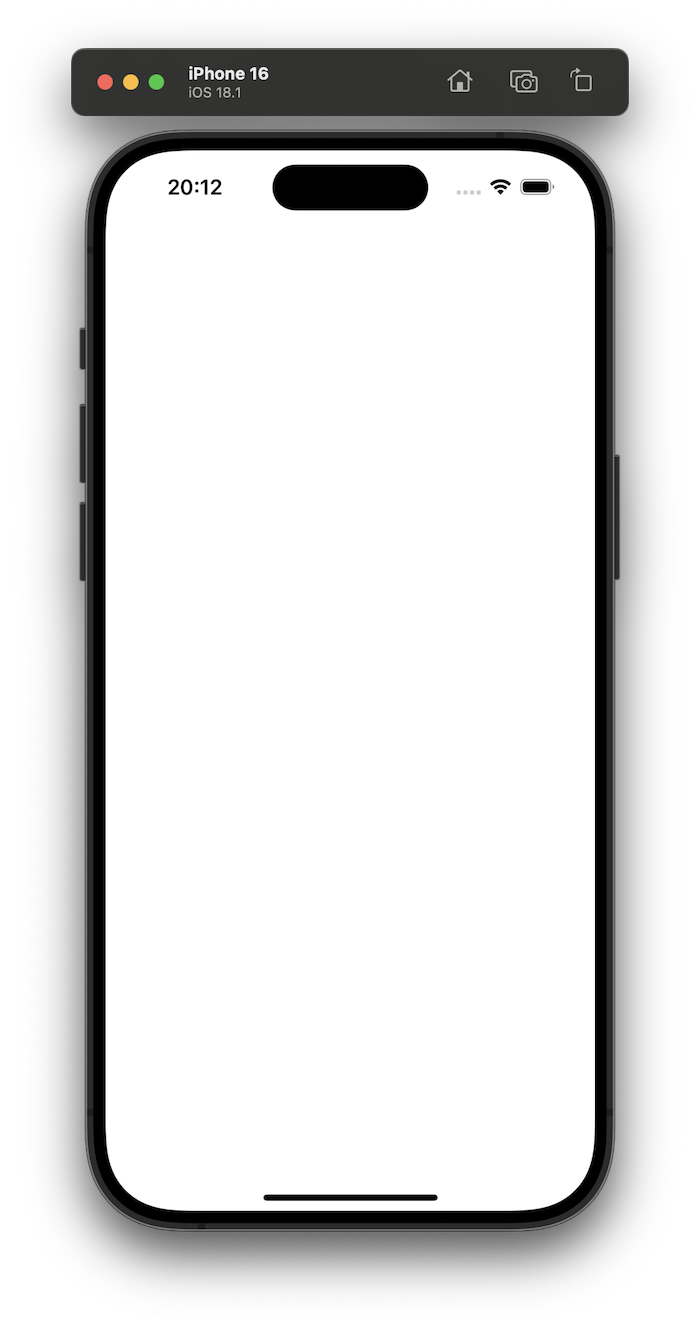
At first, the emulator will not display anything, but this will be resolved shortly.
Key Files and Initial Changes
In the project tree, the key initial files are AppDelegate and SceneDelegate. The ViewController file can be ignored for now.
REMEMBER TO START YOUR RAILS APPLICATION!
Run the following command in your Rails project folder:
bin/dev
First Change in SceneDelegate
In the SceneDelegate file, update it to be like this:
// We need to import things when using Swift.
import HotwireNative
import UIKit

// Root route to the Rails application
let rootURL = URL(string: "http://localhost:3000")!

class SceneDelegate: UIResponder, UIWindowSceneDelegate {

  var window: UIWindow?

  // Instantiate a new Navigator()
  private let navigator = Navigator()

  func scene(_ scene: UIScene, willConnectTo session: UISceneSession, options connectionOptions: UIScene.ConnectionOptions) {
    // Override the rootViewController using the navigator one
    window?.rootViewController = navigator.rootViewController
    // Access the root route
    navigator.route(rootURL)
  }
}
When saving the file, the error No such module HotwireNativewill appear on line 1. This happens because Hotwire Native has not been imported yet. Follow the steps below to resolve it:
Adding Hotwire Native package
In the top menu, click:
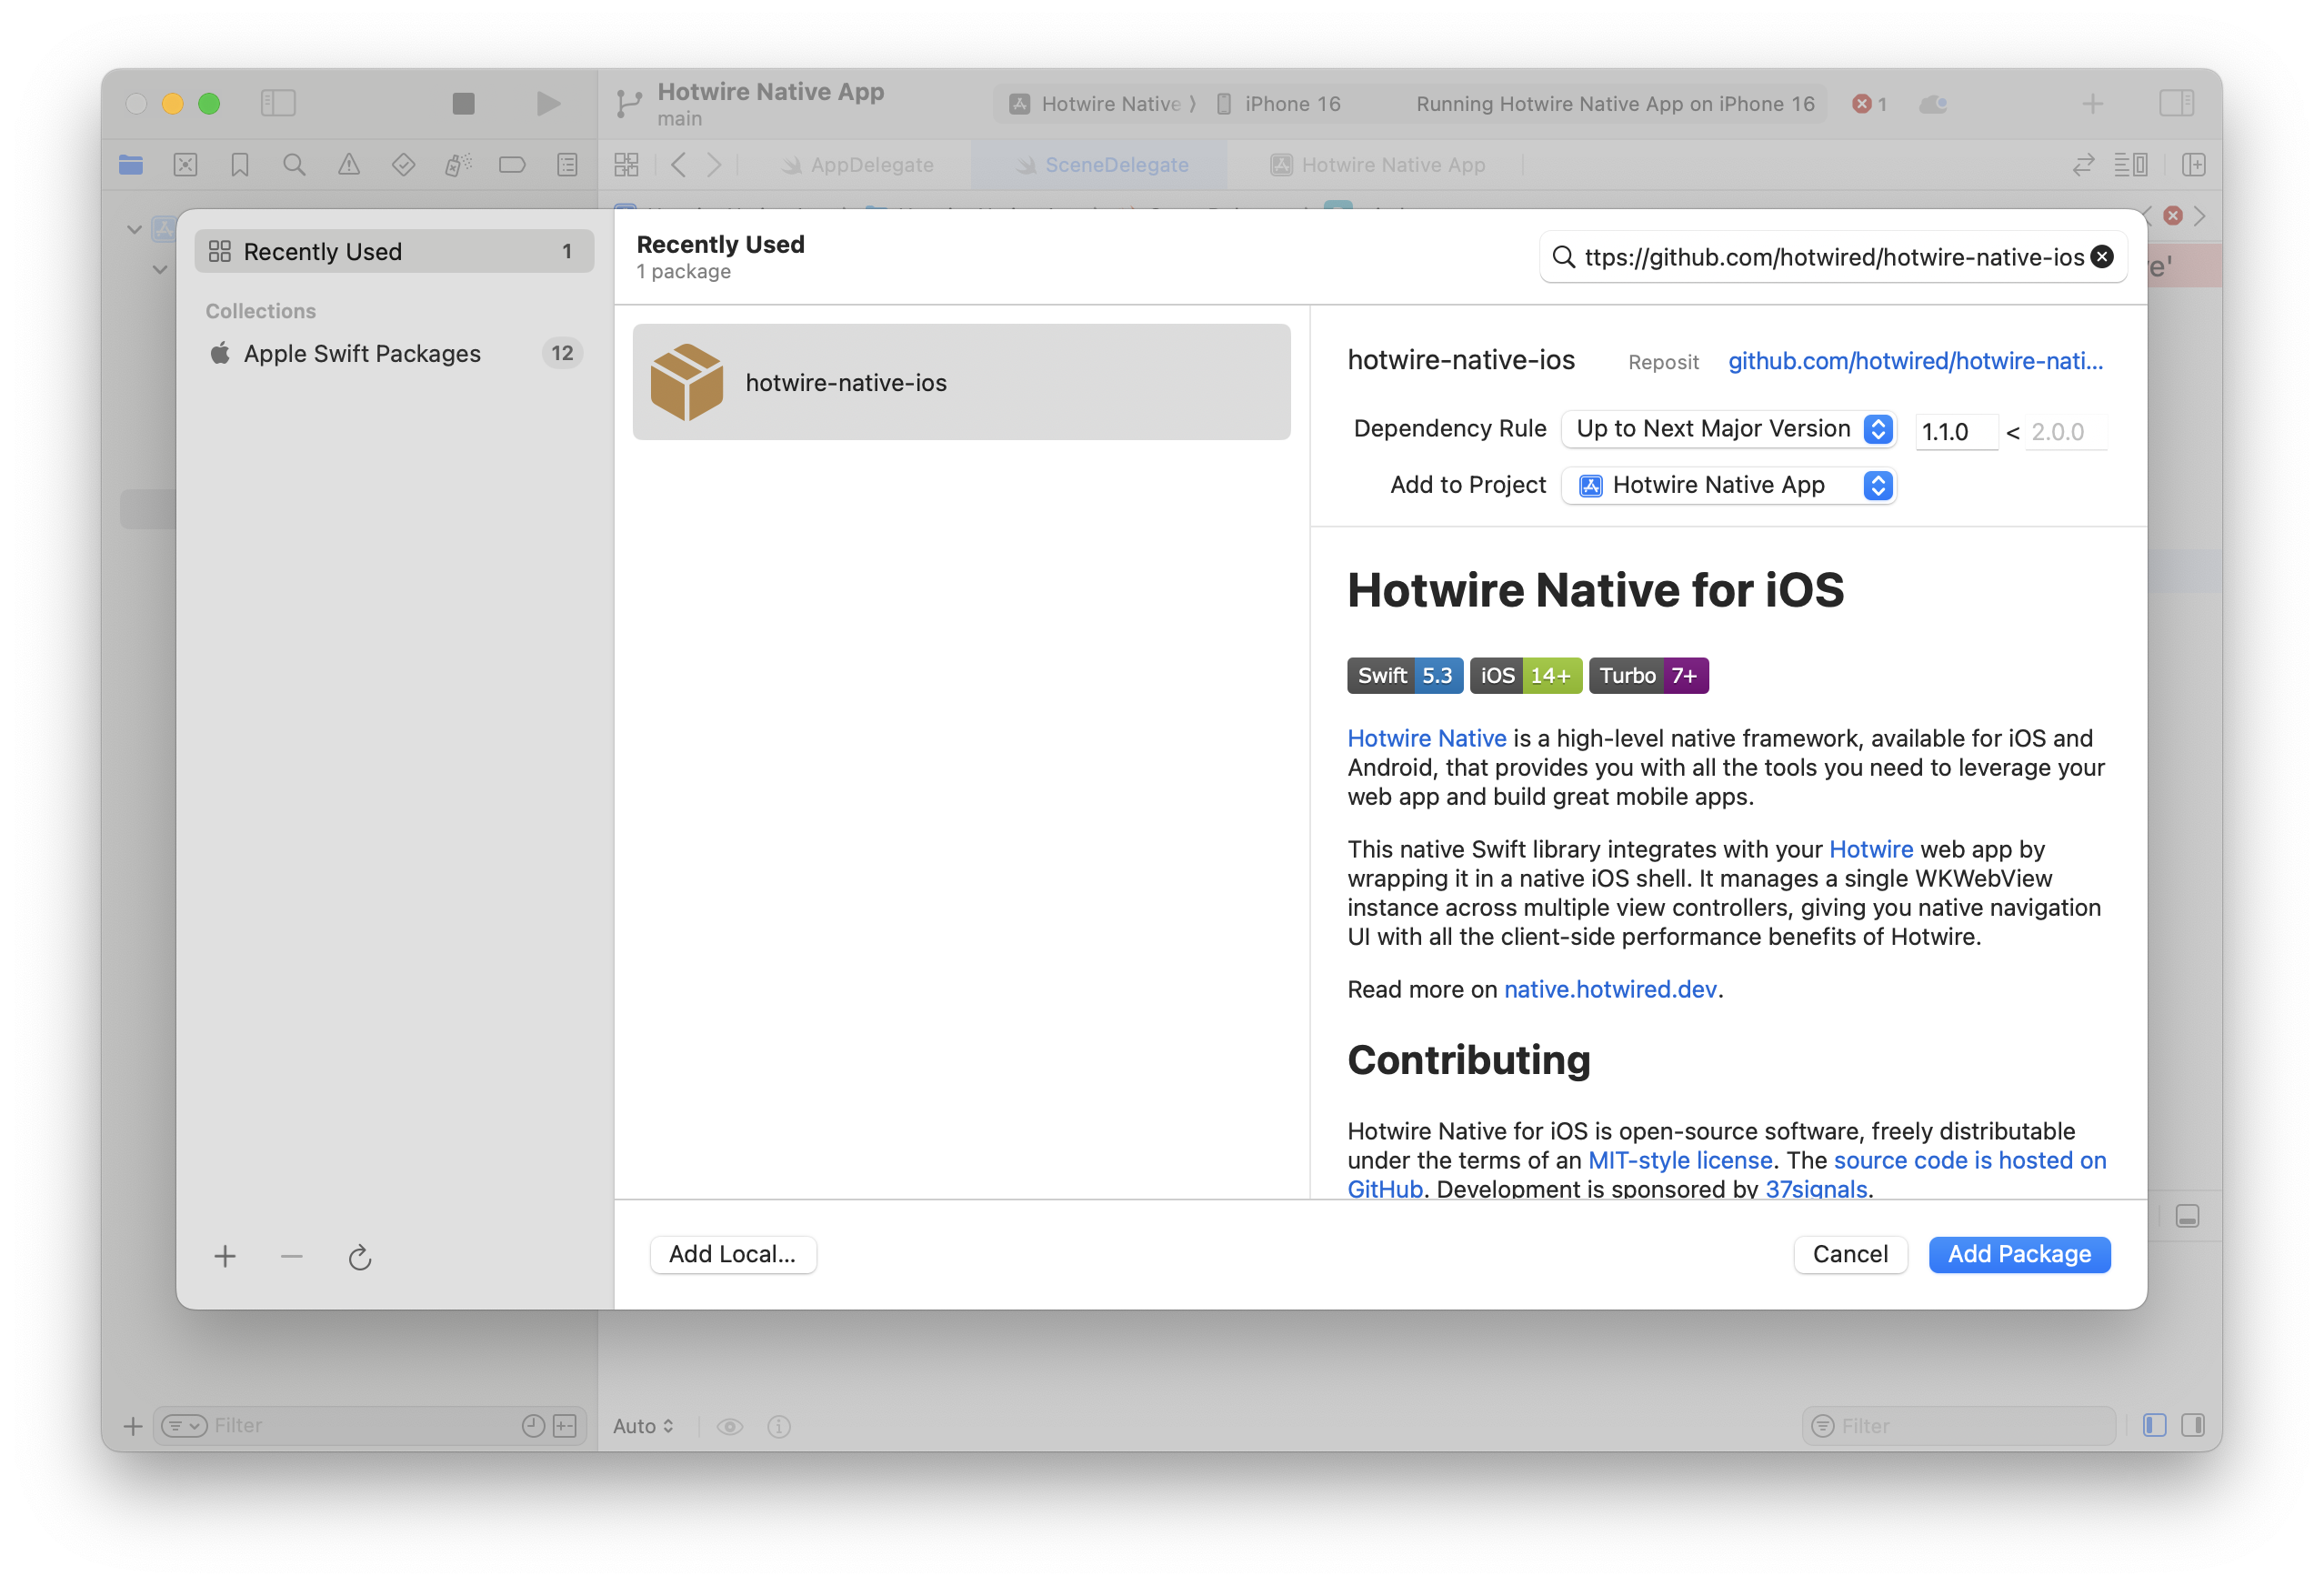
File >> Add Package Dependencies...
A screen similar to the image below will appear.
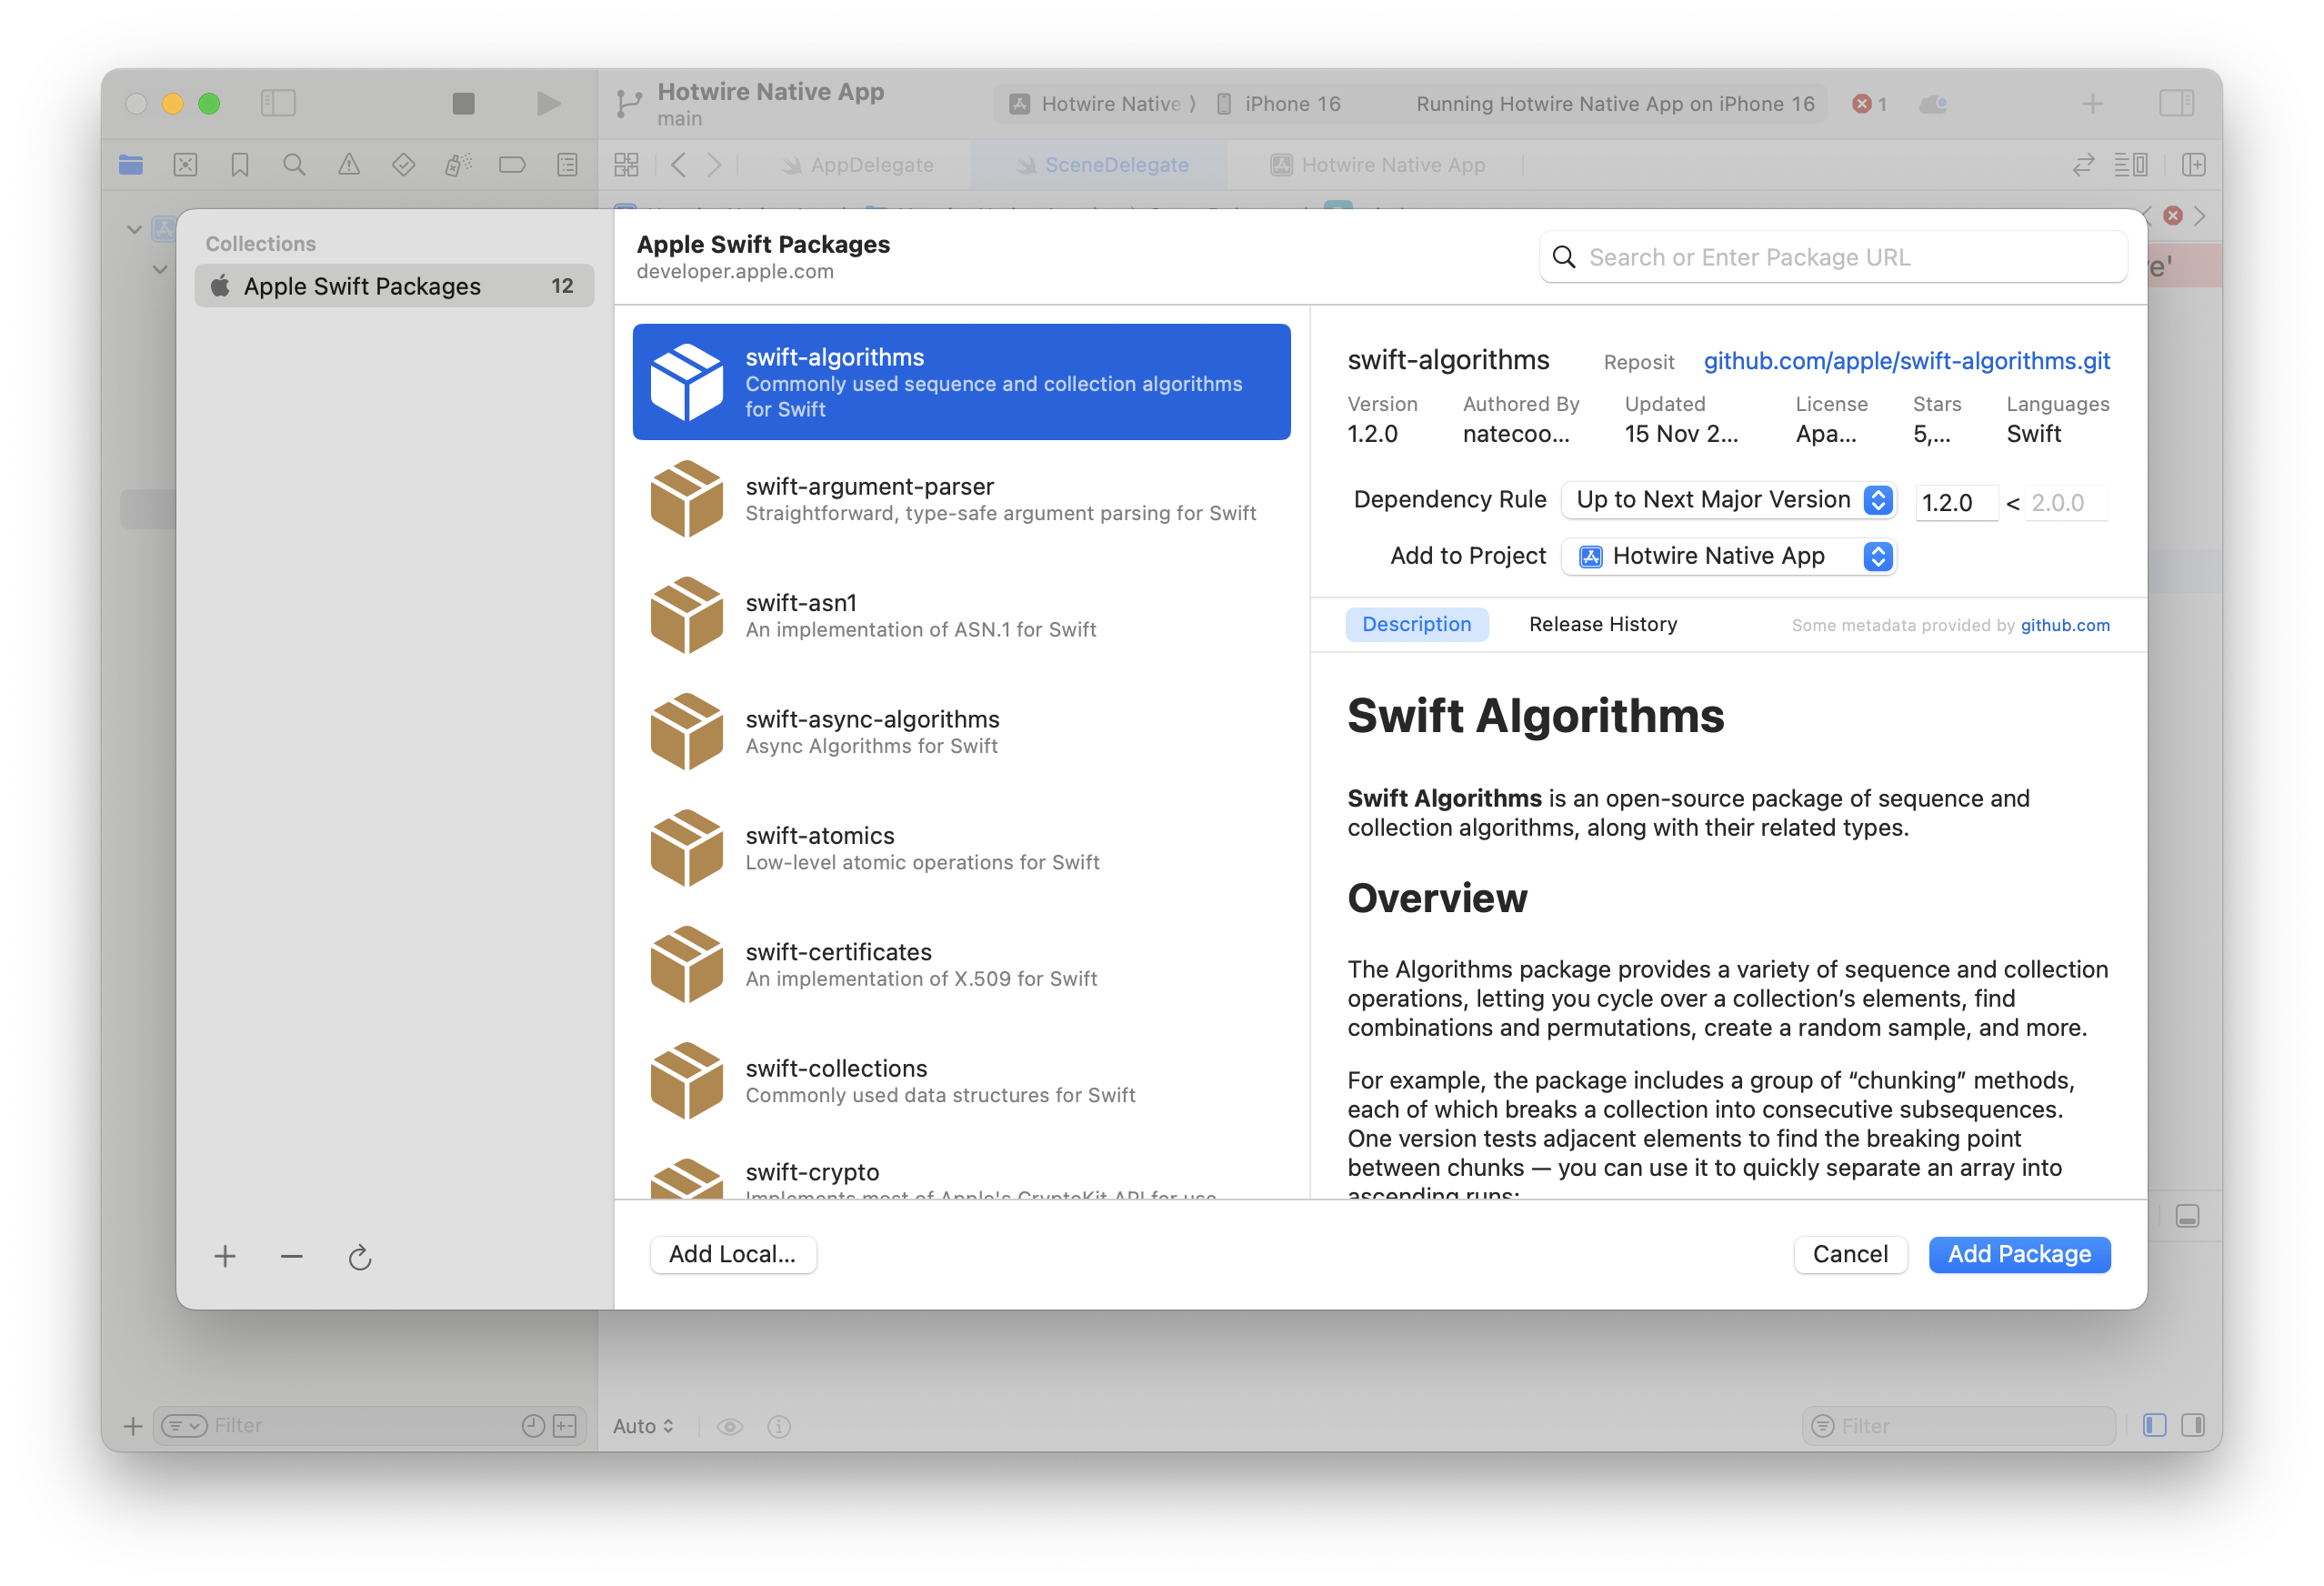
- Copy the repository address for Hotwire Native iOS from GitHub:
https://github.com/hotwired/hotwire-native-ios
- Paste the address into the search field on the dependencies screen.
- Select Hotwire Native iOS.
- Click
Add Packageand wait for the addition to complete.
Once the process is complete, the error in the SceneDelegate file should disappear. Run the project by clicking Play or using the shortcut Command + R.
Final Result of the Chapter

The Rails application is now running as an iOS app using Hotwire Native. Navigate through the application to observe its behavior.